This article is the third in a multi-part series related to the vintage Macintosh computers of the late 1980s, and why old software needn’t die, even if it is abandoned by its creators. ( 1 | 2 | 3 | Vintage Macintosh Resources )
[a work in progress…]
Released in 1986, the original Macintosh Plus could execute 700,000 instructions per second, or 0.7 MIPS (Million Instructions Per Second). That almost sounds fast until you compare it to my 7 year old iPhone 5, which runs at 20,000 MIPS or 20 Billion Instructions Per Second. My HP laptop has an 8 processor 1.8 GHz Intel i7 CPU running at around 54 BIPS (maxes out at 61 BIPS).
Okay, a lot of numbers. Point is, it’s not remotely taxing a contemporary computer (even a tiny computer like a Raspberry Pi) to emulate a vintage Macintosh. In fact, the emulator has to deliberately delay execution of machine instructions to run slow enough not to alter the behaviour of the emulated Mac.
Okay, I assume you’re reading this because you have some interest in emulating a vintage Mac on your own computer. I’ll describe below how to do this using the Mini vMac emulator, created as part of Paul C. Pratt’s Gryphel Project.
Requirements
That original Mac Plus had a whopping 1MB of RAM (Random Access Memory), upgradable to 4MB. It also had 128K of ROM (Read Only Memory) that contained all the core software that made it a Macintosh.
In order to open a Macintosh Virtual Machine (i.e., an application that emulates an early Macintosh), you’ll need
- a customised executable (or “binary”) of the Mini vMac application, usually named “minivmac”, and
- a ROM (Read-Only Memory) file corresponding to the specific Macintosh model you are emulating
Also important to note:
- the Mini vMac executable and the Mac ROM file must both be in the same directory
- you must have the right ROM for the Mac model you’re emulating, and it must be named correctly (see table below)
Fortunately, if Mini vMac starts up and can’t find the ROM file the error message will tell you the name of the ROM file it’s expecting.
The Mini vMac project hosts a Mac68k page listing all the Macintosh models and their corresponding ROM file names. I’ve summarised the ROM files required for each model below:
| Model | ROM Filename |
|---|---|
| Mac 128K | Mac128K.ROM |
| Mac 512K | Mac128K.ROM |
| Mac 512Ke | vMac.ROM |
| Mac Plus | vMac.ROM |
| Mac SE | MacSE.ROM |
| Mac SE FDHD | SEFDHD.ROM |
| Mac Classic | Classic.ROM |
| Mac II | MacIIx.ROM |
Getting Mini vMac
Rather than me reiterate the voluminous documentation that Mini vMac’s author has accomplished, you can find Mini vMac resources directly from the source:
- the Mini vMac project page
- the download page contains binaries for various operating systems
- the Getting Started page has helpful documentation
There are also more Mini vMac links on the Vintage Macintosh Resources page.
Getting a Mac ROM
The contents of the Mac ROMs are copyright Apple Computer, so it’s illegal in some countries to distribute them as files. I’ll just point you at where you can find one (or a collection of them):
- Download vmac.rom (139K) on sites.google.com. The site also contains information about Mini vMac and links to various sizes of blank Mac disks
- Download Macintosh ROM Archive (52.5MB) from the Internet Archive
- Download Macintosh ROMs (5.6MB) from Macintosh-ROMs on github
- Download Old_World_Mac_Roms (49MB) from the All Macintosh Roms page at the Macintosh Repository
Starting Up
Once you have an executable and a ROM, place them in the same directory and start the executable. I generally work on a Linux machine so I built some executables for Linux. On Mac OS X you’d put the minivmac application in the Applications directory, along with the ROM file.
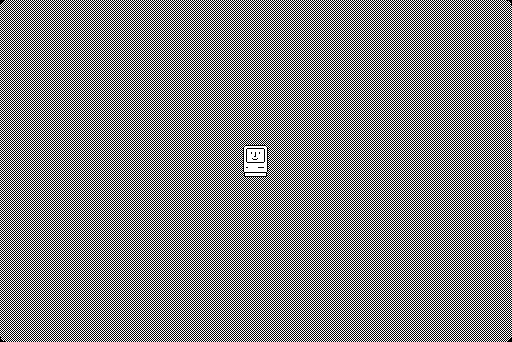
Once the emulator has started you’ll see the Mac icon waiting for a startup disk:

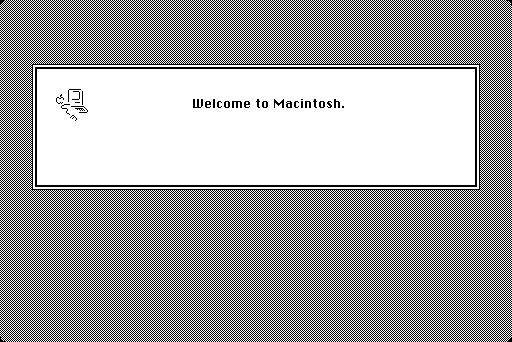
You then drag a Mac startup disk file (a .dsk or *.img file containing a System Folder) onto the window to start the Mac. If the disk contained a System Folder and things are successfully starting up, you’ll briefly see the happy Mac icon:
followed by the Welcome to Macintosh window:
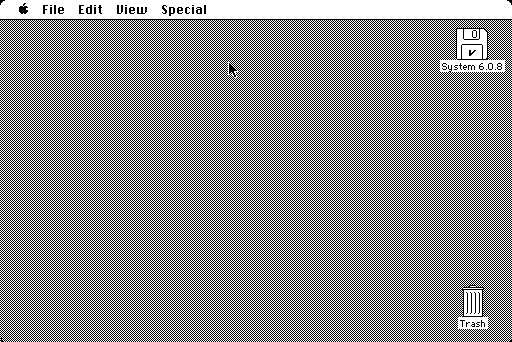
…and then finally the Mac desktop:
Since we’re doing screenshots, to safely close down your Mini vMac session, select the Shutdown item from the Special menu. You’ll see:
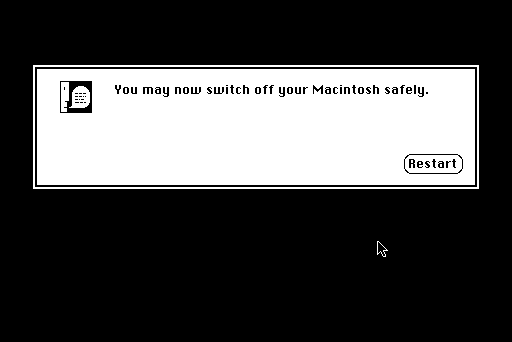
…and then you can close the window.
The above screenshots are from that originally-sized 512 by 342 pixel Mac SE screen, the way things were in 1986. If that seems a bit cramped, it’s possible to modify the screen size. I generally run 1200 x 900 in full colour, as on a Macintosh II with 8MB of memory. But sometimes I like that tiny Mac SE window too.
The mini vMac project provides open source code that allows you to compile the minivmac application using differing command line options. It’s these options that permit you to select things like target operating system, model of Mac to emulate, screen size, etc.
Next Steps
I ended up downloading the source code of the project and repeatedly generating minivmac binaries for differing configurations, then renaming the resulting binary to a name corresponding to the configuration. That way I could try out a Mac SE with the original 512 x 342 pixel screen, or a 1024 x 800 pixel Mac SE FDHD, or a colour Mac II. There’s no magic here.
I noted that the Basilisk emulator has a Preferences screen to alter the configuration of the emulation. It occurred to me that I could make a HyperCard stack to do the same thing for Mini vMac. And I did. I’ll cover that next time.
[This article was written in 2019 using MacWrite 4.6 on Macintosh System version 7.5]